Thank you for visiting Ex Why Zed, and a warm welcome to you! We understand that printing for the first time can be overwhelming, with its unique terminology, jargon, and myriad choices. Rest assured, our extensive expertise in Bookazine printing is at your service. Relax and let us navigate you smoothly through the process.
Imagine the thrill when a splendid stack of boxes is delivered to your doorstep, containing the first copies of your self-published bookazine. The moment you’ve diligently worked towards is almost here. Prepare to revel in the tactile sensation and the fresh scent of your own creation.
Ex Why Zed are specialist creative book printers who will work with you to take your artwork from screen to a wide range of printed outcomes. Our video series will really expand your knowledge on the options available in print, our FAQ section answers all your questions and our file set-up guides will make you a better designer.
Ultimately printing isn’t a daunting experience. You’ve done the hard work and come up with a creative idea for your bookazine printing. Getting it into print is the easy part.
It’s 2024 and it has never been easier to self-publish a bookazine. Brilliantly, you don’t even need a publisher anymore. Jump on Kickstarter and start a crowdfunding campaign, tell the world about your great publication and become fully funded before you go to print.


When figuring out your print costs, the main things to think about are the size, number of pages, and how many copies you need. Tweaking these can really make the most of your budget.
There are heaps of choices for size, finishes, and paper types. But to keep it simple, the main paper finishes are silk, gloss, or uncoated, and your inside pages can be anything from 100 to 170gsm. For a chunkier cover, go for 300gsm or 350gsm.
Our tip? Take some time to check out our video guides and browse our case studies. Each book’s print specs are listed, so if you spot something perfect for your project, jot it down and we can give you a similar quote.
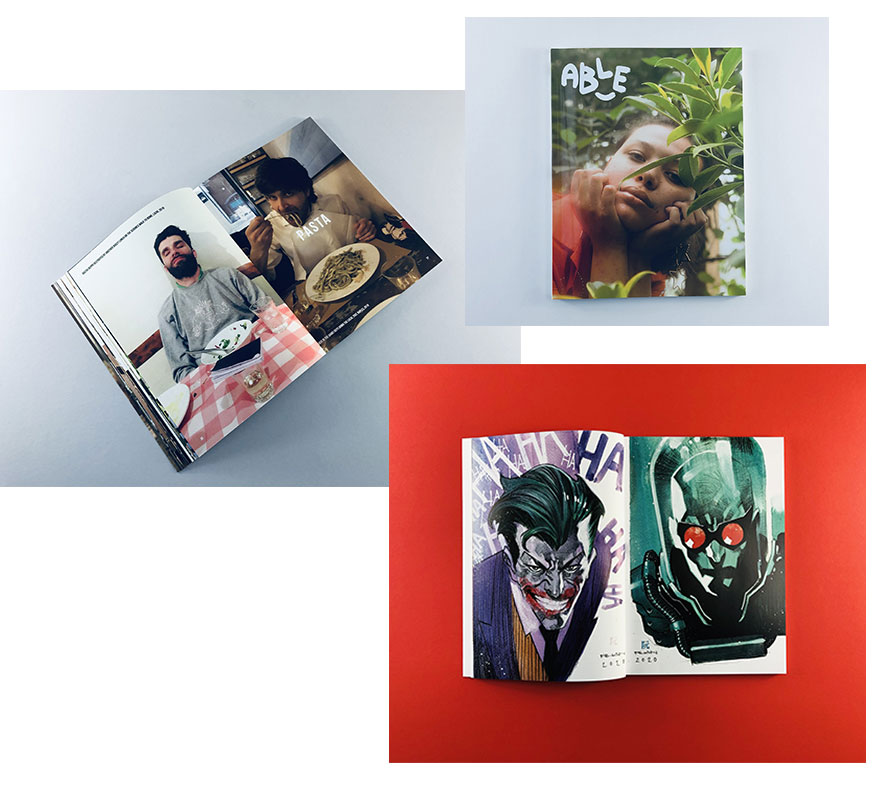
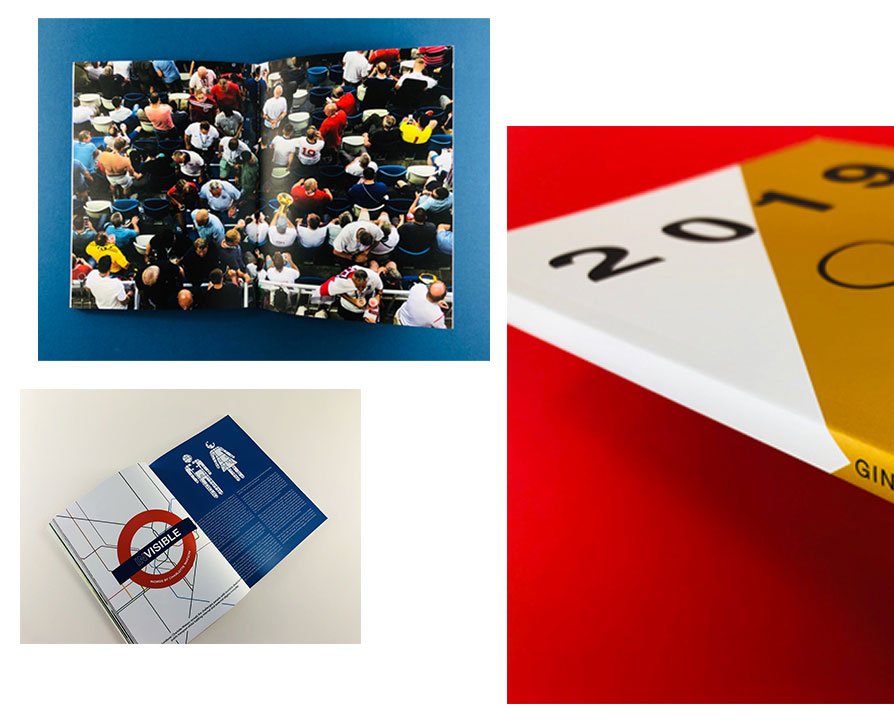
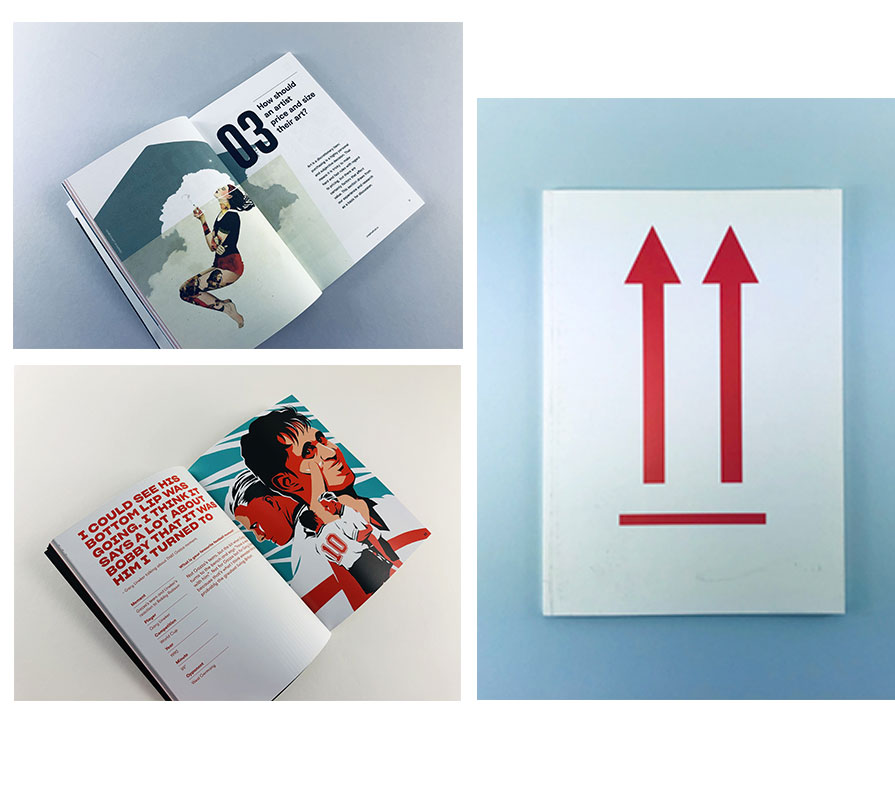
We have been doing this a while now and have seen a lot of impressive publications come off our presses. To give you a head start with your bookazine printing, here are three print specifications which work well (and photos of them, see right). Each has its own characteristics which have proven to be winning combinations from a production perspective, cost per unit and most importantly, have reader appeal.
If any of our showcase options would work for your project, take a note of the spec and jump on our quote form to receive your bespoke quotation. Or ping us an email on hello@exwhyzed.fixed-staging.co.uk if that is easier.
Showcase 1 – a stereotypical bookazine:
265x200mm Perfect Bound Books
4pp Cover onto 300gsm Silk
Matt Lamination to outer
160pp Text onto 130gsm Silk
Four colour print throughout
As a guide, you could print 200 copies of this spec £10.16 per bookazine.
Showcase 2 – a compact, tactile bookazine:
A5 Perfect Bound Books
4pp Cover onto 300gsm Uncoated
Matt Lamination to outer
80pp Text onto 120gsm Uncoated
Four colour print throughout
As a guide, you could print 100 copies of this for £3.58 per bookazine.
Showcase 3 – a content filled, smooth silk A4 solution:
A4 Perfect Bound Books
4pp Cover onto 300gsm Silk
Matt Lamination to outer
100pp Text onto 130gsm Silk
Four colour print throughout
As a guide, you could print 250 copies of this for £3.26 per copy.
Tweaks you could consider…
• Reducing the cover to 250gsm which also makes it easier to open.
• Switching to gloss lamination for a shiny aesthetic.
• Decrease the size to A5 to save you money and make the publication more ergonomic.
• OR increase to A4 for a larger area of content.
• Increase the weight of the inside pages to 170gsm making it more substantial and impressive for the reader.
• Pick out some content on the cover for Spot UV varnishing which makes it shine (this is an additional £280).

We have done our best to give you a huge wealth of information on this page and in our guides but if here are some frequently asked questions to help you get your work into print.
Here are some short snippet video guides on styling and designing a publication:
Ready to place an order?
Brilliant, you’ll need to upload the files using www.wetransfer.com sending them to hello@exwhyzed.fixed-staging.co.uk and in the comments box let us know the number of copies you’re going for and the best address for delivery. We’ll then give your artwork a free preflight check to highlight any potential issues and will email with any advice or recommendations before going to production.
Once we receive your print ready artwork, we’ll aim to deliver in 4/5 working days (we do get busy at degree show time). If you are working to a crucial deadline PLEASE allow more time – there’s no harm in getting the artwork to us early so we can deliver a few days before the show starts 🙂
https://www.youtube.com/embed/9elKD4qeGKU
https://www.exwhyzed.fixed-staging.co.uk/resources/setting-3mm-bleed-on-artwork-for-print/
We will need 3mm bleed on all the edges, you’ll notice at the moment that the artwork stops at the crop marks – it needs to extend 3mm beyond this to avoid any chance of a white border.
The following page includes illustrated and video guides on how to set up bleed correctly:
https://www.exwhyzed.fixed-staging.co.uk/resources/setting-3mm-bleed-on-artwork-for-print/
You might have set this up correctly in InDesign but when you export to PDF just make sure that in the ‘Marks and Bleeds’ menu you not only tick ‘Crop Marks’ but you also add ‘3mm’ in to the four bleed boxes – top, bottom, inside and outside. This will add the bleed to the exported PDF.
BLEED FIX
It’s one of two things:
Have you dragged the background image out 3mm beyond the black line on your Indesign file into the bleed area? Try that then export again.
OR you have done the above but then when you’re exporting you need to click the Marks and Bleeds menu, then type ‘3mm’ into the four bleed boxes. This will add the bleed to the pdf.
We will need the cover of your book supplied as two spreads – the outer cover and the inner cover.
When you export to PDF can you set the bleed to 3mm on the right and left and 10mm on the top and bottom – this way the hairlines will show on the PDF and we’ll know where to fold the spine. We have locked the hairlines and white box so drop your artwork in over those.
https://www.youtube.com/watch?v=2zRWFYVk_WI
https://www.exwhyzed.fixed-staging.co.uk/resources/create-your-cover-file/
The inside pages should be supplied as single pages NOT spreads. Just choose ‘Pages’ rather ‘Spreads’ when you export to PDF and that should sort it!
Unfortunately what is seen on an RGB, backlit screen is never going to be the same as it appears on paper in cmyk. It’s just impossible to achieve that and no printer could. You will have to allow for some difference in the colours between the two mediums but having something tangible in your hands and seeing the images on paper gives the publication a charm that just sending out a pdf wont do.
We like to interact with our customers, find out about their projects and have a bit of dialogue rather than hide behind a massive, confusing spreadsheet on a website.
We provide a bespoke quote for each and every job because your project is bespoke and unique.
Don’t get us wrong, our process is quick and efficient but we like to add extra value by starting a conversation with you first. Remember conversations? Yep, they are what happened before your phone was glued to your head! 🙂
For this reason we don’t list all our prices online but get in touch either in email or through our quote form and we will give you a bespoke quote.